Dynamic screen size compatibility
Essential techniques for responsive web design
Dynamic screen size compatibility is crucial for creating apps and websites that deliver an optimal user experience across various devices. We live in an era where people access digital content on everything from smartwatches to large desktop monitors. By implementing responsive and adaptive design techniques, developers can ensure their applications look great and function well on any screen size.
Responsive design uses flexible grids, layouts, and images to automatically adjust content to fit different viewport dimensions. Adaptive design takes this a step further by creating multiple layouts tailored to specific device categories. Both approaches help maintain usability and visual appeal regardless of whether a user is on a smartphone, tablet, or computer.
We recognize that achieving true dynamic screen size compatibility requires careful planning and testing. It involves considering factors like font sizes, touch targets, navigation patterns, and content priority. By embracing these principles, we can create more inclusive digital experiences that reach a wider audience and adapt seamlessly to the ever-evolving landscape of devices.
Understanding Screen Size Diversity
Screen sizes vary widely across devices, impacting how users interact with digital content. This diversity requires careful consideration in design and development to ensure optimal experiences.
Importance of Diversity in Device Screen Sizes
Device screen sizes range from small smartwatches to large televisions. This variety allows users to choose devices that fit their needs and preferences. Smartphones typically have screens between 4-6 inches, while tablets range from 7-12 inches. Laptops and desktops can span from 13 inches to 27 inches or more.
Different screen sizes cater to various use cases. Smaller screens offer portability, while larger displays provide immersive experiences for tasks like video editing or gaming. We must consider these differences when creating digital products to ensure they function well across all devices.
Common Screen Size Categories
Screen sizes are often categorized to simplify design processes. Common categories include:
- Extra Small: < 576px
- Small: 576px – 767px
- Medium: 768px – 991px
- Large: 992px – 1199px
- Extra Large: ≥ 1200px
These categories help designers create responsive layouts that adapt to different screen sizes. Popular resolutions in 2023 include:
- 1920×1080 (22.18% of users)
- 1366×768 (14.04% of users)
- 1440×900 (6.41% of users)
Aspect Ratios and Pixel Density Essentials
Aspect ratios define the proportional relationship between a screen’s width and height. Common ratios include 16:9 for widescreen displays and 4:3 for older devices. Mobile devices often use taller ratios like 18:9 or 20:9.
Pixel density, measured in pixels per inch (PPI), affects image sharpness. Higher densities result in crisper displays but require higher-resolution assets. To address this, we use density-independent pixels (dp) in design, which scale across different pixel densities.
Understanding these concepts helps us create designs that look great on all screens, regardless of size or resolution.
Design Principles for Screen Compatibility

Effective screen compatibility requires thoughtful design approaches that adapt to diverse device sizes and use cases. Key principles focus on flexible layouts, strategic content presentation, and optimizing for different interaction modes.
Responsive Vs. Adaptive Design Strategies
Responsive design uses fluid grids and flexible images to create layouts that automatically adjust to screen sizes. CSS media queries enable content to reflow based on viewport dimensions. Adaptive design, in contrast, creates distinct layouts for specific breakpoints. We typically implement responsive design for its flexibility across a wider range of devices.
Responsive approaches allow for smoother transitions between screen sizes but can be more complex to implement. Adaptive designs offer more control over specific layouts but require maintaining multiple versions. The choice depends on project needs, target devices, and development resources.
Core Layout Constructs
Flexible layouts form the foundation of screen-compatible design. We utilize fluid grids with percentage-based widths instead of fixed pixel dimensions. This allows content to expand or contract proportionally as screen size changes.
CSS Flexbox and Grid provide powerful tools for creating flexible layouts. Flexbox excels at one-dimensional layouts, while Grid offers robust two-dimensional control. We combine these with relative units like em, rem, and vw for truly responsive designs.
Images and media require special attention. We use max-width: 100% to ensure images scale down on smaller screens without overflowing their containers.
Designing for Multi-window Mode
Modern devices often support multi-window modes, presenting unique design challenges. We design layouts that gracefully adapt when a window is resized or split. This involves:
- Using min-width and max-width to maintain readability
- Implementing collapsible navigation menus
- Prioritizing essential content for constrained views
Responsive images with srcset allow browsers to choose appropriate image sizes based on screen and window dimensions. We test designs in various multi-window configurations to ensure a consistent user experience across usage scenarios.
Android’s Framework for Screen Compatibility
Android provides a robust framework to ensure apps adapt seamlessly across diverse screen sizes and configurations. This system leverages flexible layout parameters, powerful development tools, and innovative techniques for cutting-edge devices.
Understanding Android Layout Parameters
Android’s layout system uses key parameters to create responsive designs. The match_parent attribute allows views to expand to fill their parent container, while wrap_content sizes views based on their content. For fine-tuned control, we can use 0dp with weight values in LinearLayouts.
These parameters work together to create fluid layouts. For example:
<LinearLayout
    android:layout_width="match_parent"
    android:layout_height="wrap_content"
    android:orientation="horizontal">

    <TextView
        android:layout_width="0dp"
        android:layout_height="wrap_content"
        android:layout_weight="1" />

    <Button
        android:layout_width="wrap_content"
        android:layout_height="wrap_content" />
</LinearLayout>
This setup ensures the TextView expands to fill available space while the Button sizes to its content.
Leveraging Android Studio and Jetpack Compose
Android Studio offers powerful tools for creating adaptable layouts. The Layout Editor provides a visual interface to design XML layouts with real-time previews across different screen sizes.
Jetpack Compose, Android’s modern UI toolkit, simplifies responsive design. It uses a declarative approach, automatically adapting to various screen sizes. For instance:
@Composable
fun ResponsiveLayout() {
    Row(Modifier.fillMaxWidth()) {
        Text(
            text = "Flexible Content",
            modifier = Modifier.weight(1f)
        )
        Button(onClick = { /* action */ }) {
            Text("Action")
        }
    }
}
This Compose function creates a layout similar to our XML example, but with less boilerplate code.
Techniques for Multi-Window and Foldables

For multi-window and foldable devices, we need to consider dynamic configuration changes. The Android framework provides callbacks like onConfigurationChanged() to handle these scenarios.
We can use the following techniques:
- Responsive layouts that adapt to available space
- Saving and restoring instance state during configuration changes
- Using ConstraintLayout for complex, adaptive designs
For foldables, we can query the device state:
val foldingFeature = WindowInfoTracker.getOrCreate(this)
    .windowLayoutInfo
    .map { it.displayFeatures }
    .filterIsInstance<FoldingFeature>()
    .firstOrNull()

if (foldingFeature?.state == FoldingFeature.State.HALF_OPENED) {
    // Adjust layout for folded state
}
This code checks if the device is folded and allows us to adjust our layout accordingly.
Managing Different Screen Sizes in Android
Android devices come in a wide variety of screen sizes and densities. To create apps that work well across this diverse ecosystem, we need effective strategies for adapting layouts and UI elements.
Utilizing Size Classes and Breakpoints
Size classes help categorize devices into broad groups based on screen size. We use breakpoints to define transition points between these classes. For Android, common size classes include compact, medium, and expanded.
We can set breakpoints using dp values:
- Compact: 0-599dp
- Medium: 600-839dp
- Expanded: 840dp+
By utilizing these classes, we can adjust layouts and UI elements appropriately. For example, a single-column layout may work well for compact devices, while a two-column layout suits expanded screens better.
Creating Alternative Layouts for Android
Alternative layouts allow us to create different XML layouts for various screen sizes. We place these layouts in specially named resource directories.
Common alternative layout folders:
- layout-sw600dp (for 7″ tablets)
- layout-sw720dp (for 10″ tablets)
- layout-land (for landscape orientation)
Within these folders, we create layout XML files with the same names as our default layouts. Android automatically selects the most appropriate layout based on the device’s characteristics.
Adopting Adaptive Layout Strategies
Adaptive layouts dynamically adjust to different screen sizes using a single layout file. We achieve this through flexible layouts and responsive UI components.
Key strategies include:
- Using ConstraintLayout for flexible positioning
- Implementing percentage-based dimensions
- Applying weight attributes in LinearLayouts
We can also use the smallest width qualifier (swdp) to create layouts that adapt based on the available screen width. This approach ensures our UI remains consistent across various device sizes and orientations.
Responsive Techniques and CSS Considerations
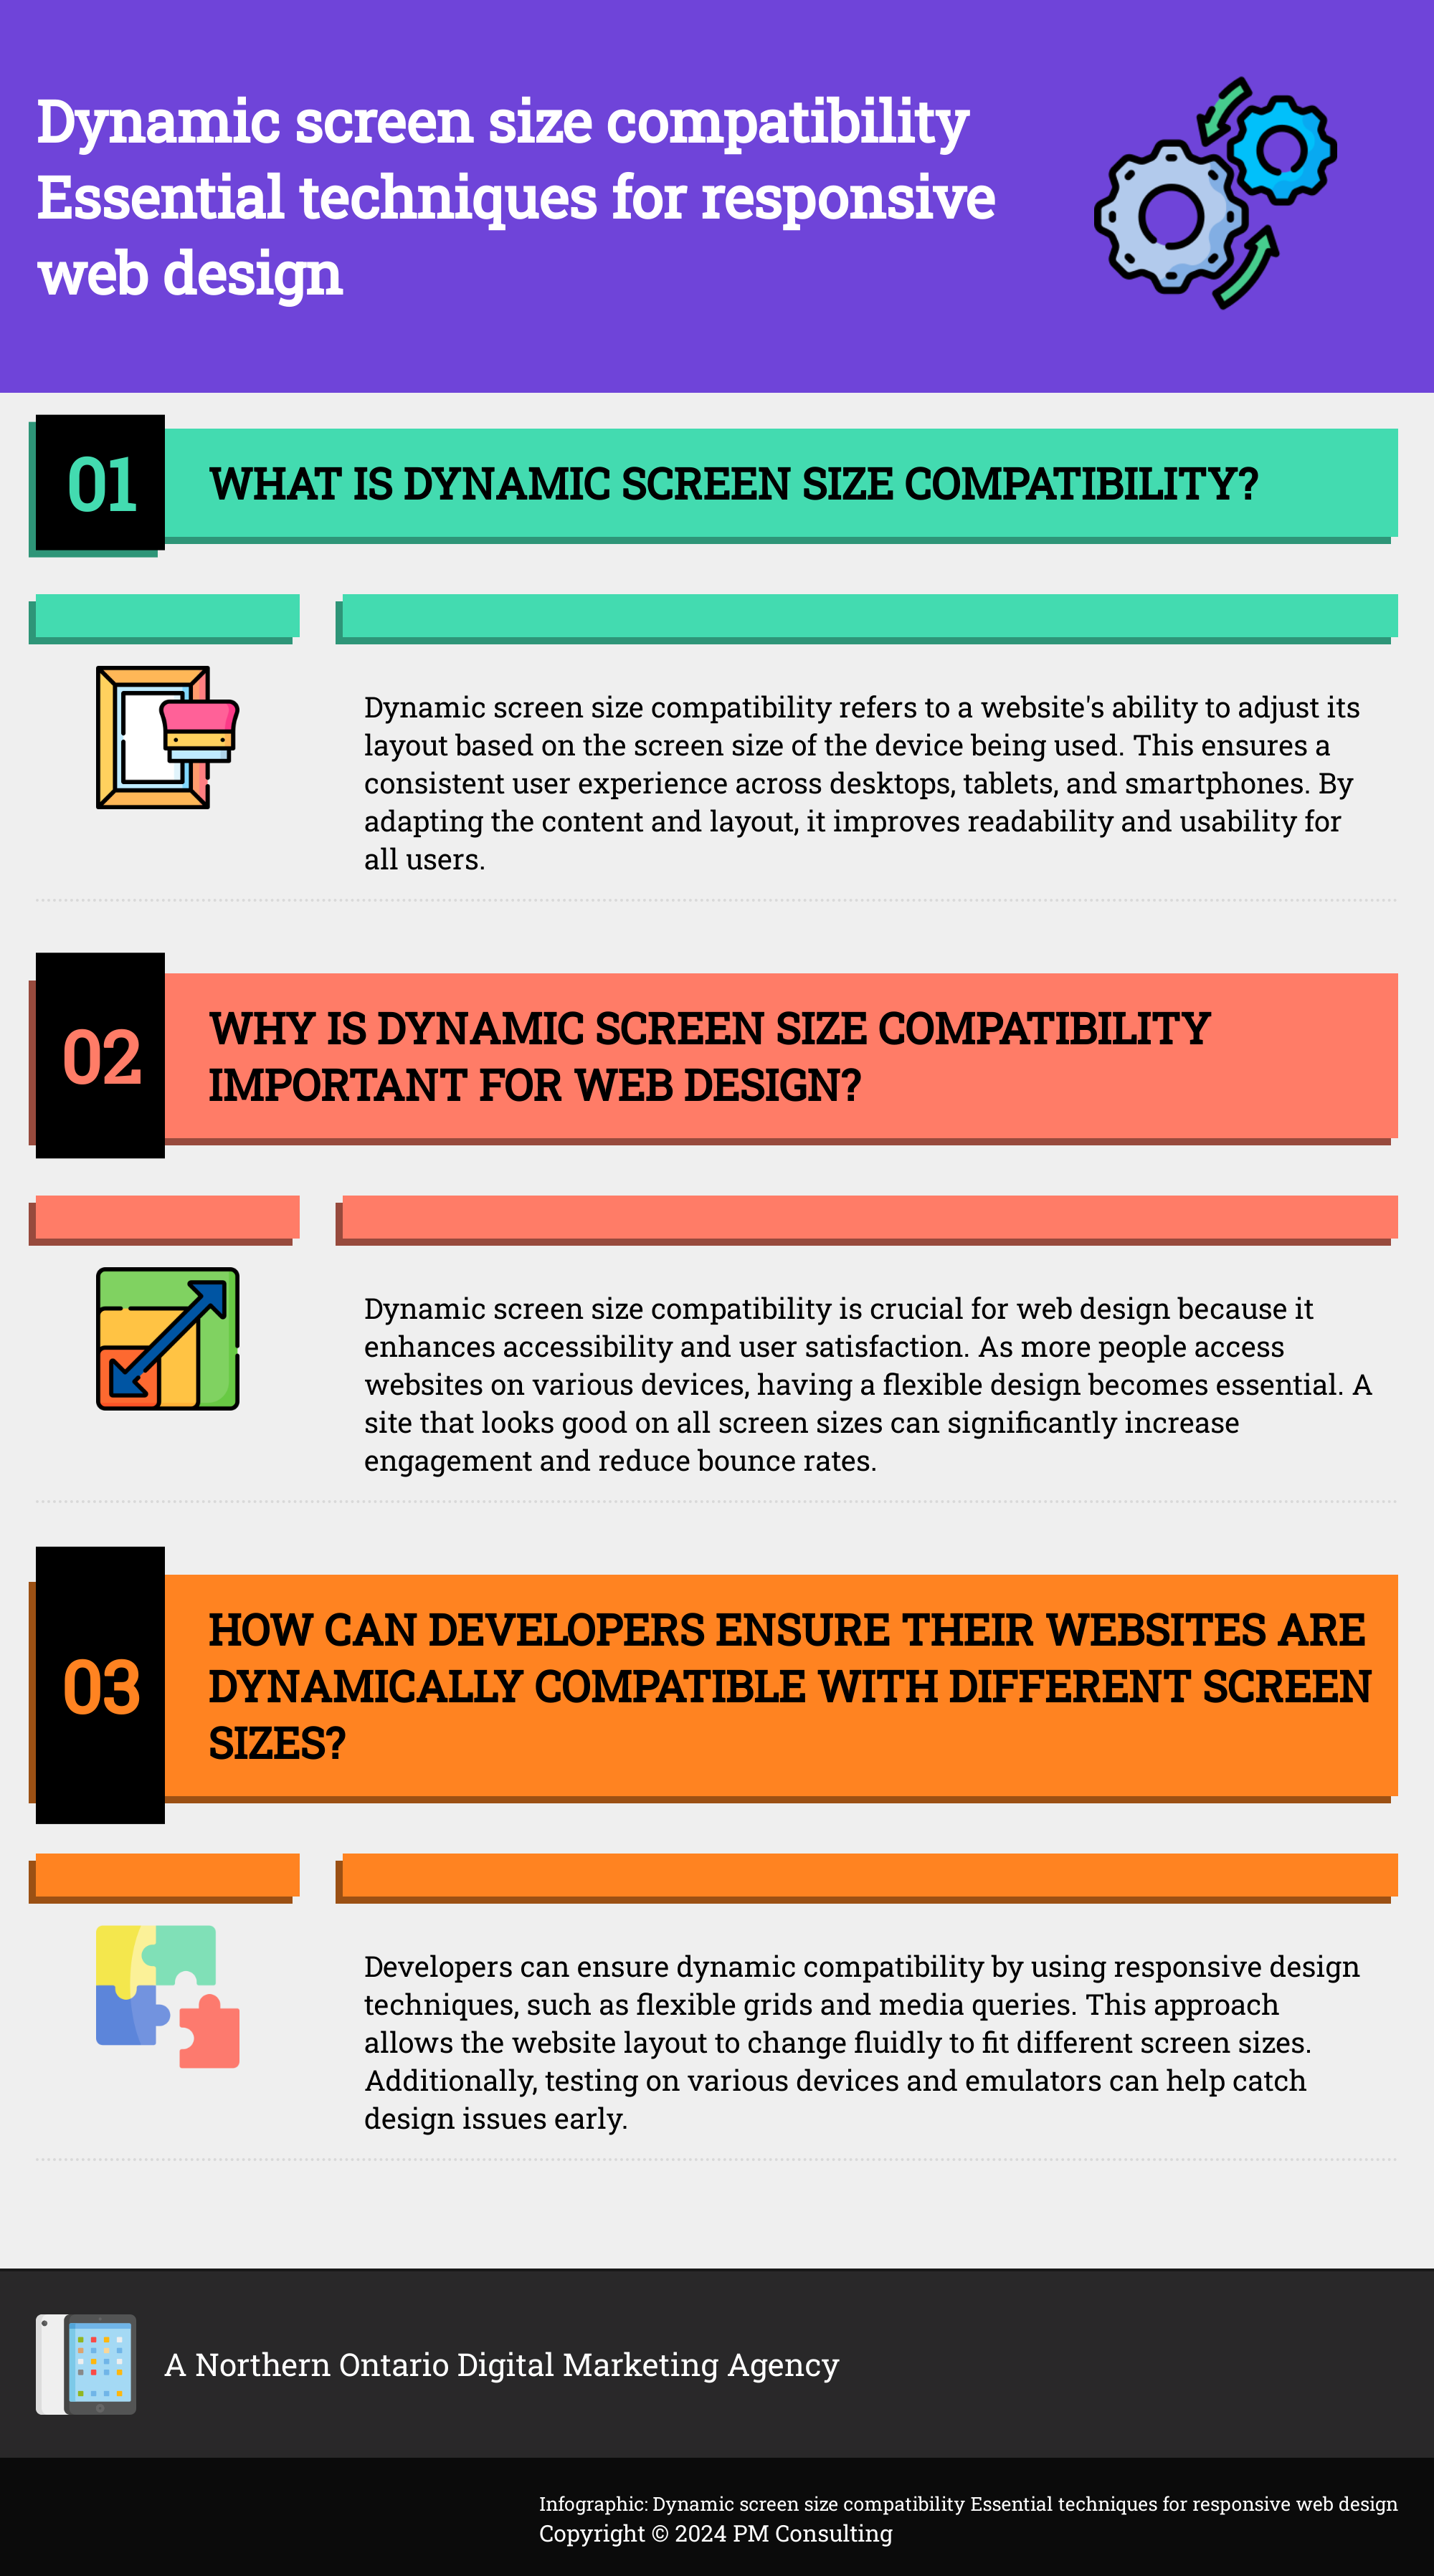
Responsive design relies on flexible layouts and adaptive elements to ensure optimal viewing across devices. CSS plays a crucial role in implementing these responsive techniques.
Implementing Fluid Grids and Media Queries
Fluid grids form the foundation of responsive design. We use percentage-based widths instead of fixed pixel values to create flexible layouts. For example:
.container {
  width: 100%;
  max-width: 1200px;
}

.column {
  width: 33.33%;
}
Media queries allow us to apply different styles based on screen size. We can target specific breakpoints:
@media screen and (max-width: 768px) {
  .column {
    width: 50%;
  }
}
This approach ensures content adapts smoothly to various screen sizes.
Handling Orientation Changes
Orientation changes present unique challenges for responsive design. We use CSS to adjust layouts when devices switch between portrait and landscape modes.
The orientation media feature helps target specific orientations:
@media screen and (orientation: landscape) {
  .sidebar {
    float: left;
    width: 30%;
  }
  .main-content {
    float: right;
    width: 70%;
  }
}
We can also use JavaScript to detect orientation changes and trigger layout adjustments dynamically. This ensures a seamless user experience across different device orientations.
Optimization Strategies for Various Devices
Adapting apps for different devices requires tailored approaches. We’ll explore techniques for foldables and large screens as well as optimizing for ChromeOS and Android Auto platforms.
Special Considerations for Foldables and Large Screens
Foldable devices introduce unique challenges for app developers. We must account for dynamic screen configurations and seamless transitions between folded and unfolded states. Utilizing Android 11’s enhanced APIs allows us to detect fold states and adapt layouts accordingly.
For large screens, we emphasize scalable UI components and flexible layouts. Grid-based designs work well to maximize screen real estate. We implement responsive breakpoints to adjust content density and navigation patterns as screen size increases.
Key optimizations include:
- Responsive typography that scales with screen dimensions
- Adaptive navigation menus (e.g. side panels on larger displays)
- Multi-pane layouts to show more content simultaneously
- High-resolution assets for crisp visuals on larger screens
Adapting Apps for ChromeOS and Android Auto
ChromeOS devices blend mobile and desktop experiences. We optimize Android apps for keyboard, mouse, and touchscreen inputs. Implementing responsive layouts ensures our UI adapts smoothly from phone-sized windows to full-screen modes on Chromebooks.
For Android Auto, safety is paramount. We design simplified interfaces with large touch targets and limit distractions. Key considerations include:
- Using Android Auto UI templates for consistency
- Implementing voice controls for hands-free operation
- Displaying only essential information to minimize driver distraction
- Adhering to strict guidelines on animations and notifications
Testing across various device form factors is crucial. We use Android Studio’s built-in emulators and physical test devices to ensure optimal performance on ChromeOS and Android Auto platforms.
Technical Implementation of Compatibility Features
Implementing dynamic screen size compatibility requires specific technical approaches and tools. We’ll explore two key aspects that enable flexible and responsive user interfaces across devices.
Understanding the WindowManager Library
The WindowManager library provides essential functionality for handling different screen sizes and configurations. We use this library to query window metrics and manage the layout of our app’s UI elements. It allows us to programmatically access information about the current display, such as available width and height in density-independent pixels.
To utilize the WindowManager, we first obtain a WindowMetrics object:
val metrics = windowManager.currentWindowMetrics
val bounds = metrics.bounds
This gives us access to the window’s dimensions, which we can use to dynamically adjust our layouts. We can also listen for configuration changes:
override fun onConfigurationChanged(newConfig: Configuration) {
    super.onConfigurationChanged(newConfig)
    // Adjust UI based on new configuration
}
Managing Window Metrics and Resizeable Activities
Resizeable activities are crucial for supporting multi-window mode and foldable devices. We implement the ResizeableActivity interface to enable smooth transitions between different window sizes. This allows our app to adapt gracefully when users change window dimensions or switch between full-screen and split-screen modes.
To handle window size changes, we override the onNewIntent() method:
override fun onNewIntent(intent: Intent) {
    super.onNewIntent(intent)
    // Update UI based on new window size
}
We can also use the Size Compatibility Mode to maintain a consistent layout when our app is launched in a smaller window. This mode emulates a larger screen size, preserving the app’s original design while fitting within the available space.
Preserving User Experience Across All Screens
Creating a consistent and enjoyable experience across various screen sizes requires careful planning and implementation. We’ll explore strategies to maintain UI coherence and optimize interactions for different devices.
Maintaining UI Consistency
We design flexible layouts that adapt seamlessly to different screen resolutions. Our approach involves using relative units like percentages and em values instead of fixed pixel sizes. This allows UI elements to scale proportionally across devices.
We implement a fluid grid system that adjusts automatically to screen widths. This ensures content remains organized and readable whether on a smartphone, tablet, or desktop monitor.
For images and media, we use responsive techniques like max-width: 100% to prevent overflow on smaller screens. We also employ CSS media queries to serve appropriately sized images based on device capabilities.
To handle varying screen aspect ratios, we utilize techniques like object-fit for images and flexible embed codes for videos. This prevents awkward cropping or letterboxing of visual content.
Enhancing User Interactions on Various Screens
We optimize touch targets for mobile devices by increasing button sizes and spacing between clickable elements. This improves tap accuracy and reduces user frustration on smaller touchscreens.
For desktop interfaces, we incorporate hover effects and more detailed tooltips to take advantage of precise cursor control. On mobile, we replace these with clear, tappable information buttons where needed.
We adjust navigation patterns based on available screen space. This may involve collapsing menus into a hamburger icon on mobile or expanding them into a full navigation bar on larger displays.
To maintain app state across screen sizes, we use responsive breakpoints in conjunction with server-side user preferences. This allows seamless transitions as users switch between devices.
Testing and Validation for Screen Compatibility
Testing and validation are crucial for ensuring screen compatibility across devices. We’ll explore two key approaches: using Android Studio for simulation and conducting real device testing.
Using Android Studio for Simulation and Testing
Android Studio offers powerful tools for simulating various screen sizes and resolutions. We can create virtual devices with different specifications to test our app’s layout and functionality. The Layout Inspector helps identify UI issues in real-time.
Android Studio’s Layout Validation tool is invaluable for checking how our app adapts to different screen configurations. We can preview layouts on multiple device types simultaneously, spotting potential problems quickly.
The Emulator in Android Studio allows us to test performance and user interactions on simulated devices. This saves time and resources during initial development stages.
Real Device Testing for Accurate Feedback
While simulations are helpful, testing on actual devices provides the most accurate results. We recommend using a mix of popular and less common devices to cover a wide range of screen sizes and resolutions.
Real device testing helps us identify issues that may not appear in simulations, such as touch responsiveness or hardware-specific quirks. It’s essential for ensuring a smooth user experience across different Android versions and manufacturer customizations.
We can use cloud testing services to access a variety of real devices without the need to purchase them all. These services often provide detailed logs and screenshots, making it easier to reproduce and fix issues.
Frequently Asked Questions
Android developers face several challenges when creating apps that work seamlessly across diverse screen sizes and configurations. Proper layout design, resource management, and compatibility considerations are crucial for delivering a consistent user experience.
How can developers ensure UI design adapts to various Android screen sizes in pixels?
We recommend using density-independent pixels (dp) instead of physical pixels for UI elements. This approach allows layouts to scale proportionally across different screen densities. Implementing flexible layouts with ConstraintLayout or LinearLayout can help elements adjust automatically to various screen sizes.
What techniques are used to make Android applications compatible with multiple screen dimensions in dp units?
Utilizing percentage-based layouts and weight attributes enables responsive designs that adapt to different screen dimensions. We also suggest creating alternative layouts for specific screen sizes and orientations using resource qualifiers. This ensures optimal content presentation across devices.
Which methods are recommended for supporting different Android screen sizes and orientations in app development?
Implementing a combination of responsive and adaptive design techniques is effective. We advise using fragments for modular UI components that can be rearranged based on screen size. Creating separate layout files for portrait and landscape orientations helps optimize the user interface for different viewing modes.
How should Android layout configurations be set to accommodate all potential screen sizes?
Designing with a mobile-first approach and progressively enhancing for larger screens is a solid strategy. We recommend using ConstraintLayout as the base layout and setting appropriate constraints to allow UI elements to adjust dynamically. Implementing alternative resources for different screen sizes ensures optimal layouts for various devices.
What steps are necessary to manage Android app layouts effectively for both small and large screens?
Testing the app on various devices and emulators is crucial. We suggest using Android Studio’s layout preview tool to visualize designs across different screen sizes. Implementing responsive images and scalable vector graphics helps maintain visual quality across devices.
What is the impact of compatibility mode on user experience in Android devices with large screens?
Compatibility mode can negatively affect user experience on large screens by displaying apps in a smaller, phone-like format. We recommend designing apps to natively support large screens, avoiding compatibility mode altogether. This approach ensures full utilization of available screen real estate and provides a more immersive experience for users.

